How Long Does A Garage Floor Coating Install Take? A Practical Reno Timeline
Updated May 2026.
The Short Answer
Most one- and two-car Reno garages finish in one to two days on site, with vehicles back on the floor within 24 to 48 hours of the final coat. A hybrid epoxy plus polyaspartic system runs two days because the epoxy base coat needs overnight set. A full polyaspartic system can compress to a single day. Three- and four-car garages, RV bays, or jobs with heavy slab repair stretch the schedule slightly but rarely beyond three days. The breakdown below walks through what actually happens each day, what can extend the schedule, and how to plan around the install.
Day One: Prep And Base Coat
Day one of a typical install runs roughly like this. The crew arrives mid-morning. Walls and edges are masked to protect them from grinding dust and any overspray. Anything still in the garage is moved out or to one end. The walk-behind diamond grinder runs the full slab to a CSP 2 to CSP 3 surface profile, which usually takes one to two hours depending on garage size. Edges and corners are handled with an edge grinder. Cracks are chased open and filled with a polymer-modified patch. Any spalls or pits are patched and feathered. Once the patches set the slab is vacuumed clean to bare, prepped concrete.
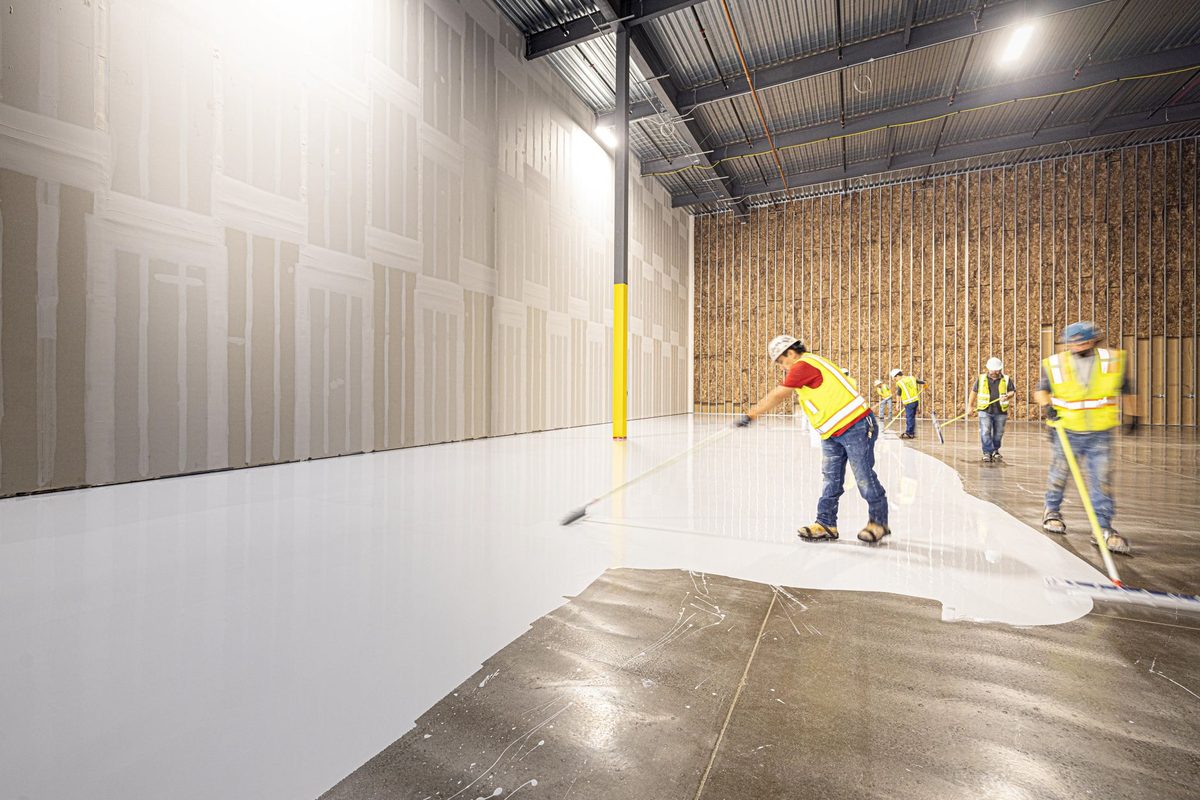
From here the crew transitions to the base coat. The two-part epoxy (or pigmented polyaspartic) is mixed on site at the manufacturer-specified ratio, poured onto the slab, squeegeed for thickness, and back-rolled for uniformity. While the base is still wet, decorative vinyl color flake is broadcast across the entire floor to refusal. The crew works in coordinated sections because the base coat working window is limited. By late afternoon the base is down, the flake is in, and the crew walks the floor with you to confirm coverage and answer questions. The garage stays closed overnight.
Day Two: Scrape, Vacuum, Topcoat
Day two starts a little later because the crew waits for the base coat to fully set. Once the base has cured to the point that flake is locked in, the crew scrapes the loose flake off the surface with a long-handled scraper. The scraped flake is vacuumed up and bagged. The floor is wiped down to remove any remaining dust. The clear UV-stable polyaspartic topcoat is then mixed and rolled across the entire floor in a uniform film. Topcoat application typically takes one to two hours depending on size. The crew walks the finished floor with you, hands you a printed care guide, and the job is done. Foot traffic that evening, vehicles 24 to 48 hours later.
The Single-Day Polyaspartic Version
If you have picked a full polyaspartic system (both base and topcoat are polyaspartic), the same work fits into a single day. The crew arrives earlier in the morning. Prep runs the same one to two hours. The pigmented polyaspartic base coat is applied and flake broadcast in late morning. Polyaspartic gels in 30 to 60 minutes, so by early afternoon the floor has set enough to scrape and vacuum. The clear polyaspartic topcoat goes down mid- to late afternoon. The crew walks the floor with you before sunset, hands you the care guide, and leaves. Vehicles can typically return the next morning. The single-day install requires more coordination and is why polyaspartic carries a premium, but it works.
Three- And Four-Car Garages
Larger garages take more material and more grinding time but the install still typically fits in the same one to two day window. We scale the crew to the size: one or two additional installers join the base team for larger jobs. The longest day of the install (the day the base coat plus flake goes down) gets a few hours longer rather than spanning multiple days. Vehicles return on the same 24 to 48 hour schedule.
What Stretches The Schedule
The most common reasons an install runs longer than the standard timeline:
- Heavy crack chasing. Dozens of cracks or wide working cracks add a few hours to a half-day of prep.
- Extensive spall repair. Apron spalls covering a significant area or full apron resurfacing can add a day for repair, set, and grinding before the coating starts.
- Failed coating removal. Stripping a previous failed coating adds grinding time. A thin peeling coating is faster than a thick well-bonded one.
- Moisture mitigation. A slab that tests above spec on moisture vapor emission needs a moisture-tolerant primer before the base coat. Primer day adds a half-day to a day.
- Weather. We do not install during snow, ice, hard freezes, or high wind. A weather day on the calendar shifts the install but does not add crew time.
- Custom finishes. Metallic floors run two to three days because the metallic coat plus protective topcoats are a multi-step decorative system.
How To Plan Around The Install
Practical scheduling tips that work for most Reno homeowners:
- Plan for two-and-a-half days of garage downtime. Two days for the install plus 24 to 48 hours for vehicle cure. Roughly: drop the car off Friday morning, get the car back Sunday or Monday. For polyaspartic, drop Friday morning, get the car back Saturday evening or Sunday morning.
- Move what you can out of the garage in advance. Bikes, gear, gym equipment, anything against the walls. We handle the heavy stuff and what is left.
- Park on the street or in the driveway during install. The garage door stays closed during application and the floor is off-limits for the cure window.
- Keep the door between garage and house closed during cure. Resin smell is noticeable during cure and dissipates quickly. Easier to just close the connecting door.
- Schedule heavy-use weeks around the install. Avoid garage-heavy events (gym move-in day, big project starts) for the install week.
What The Final Walkthrough Covers
At the end of every install we walk the finished floor with the homeowner. We point out the system that went down, confirm coverage at the edges and joints, explain the care guide, and lock in the return-to-service times. Most walkthroughs take 10 to 15 minutes. Questions are welcome on the spot or by phone afterward. The written workmanship warranty terms are part of the post-install paperwork.
FAQs
Plan Your Install
Free in-garage walk, written timeline, no obligation. Call (775) 451-2816 or visit our contact page.
Related reading: